Enjoy San Francisco Sightseeing on a Shoestring Budget

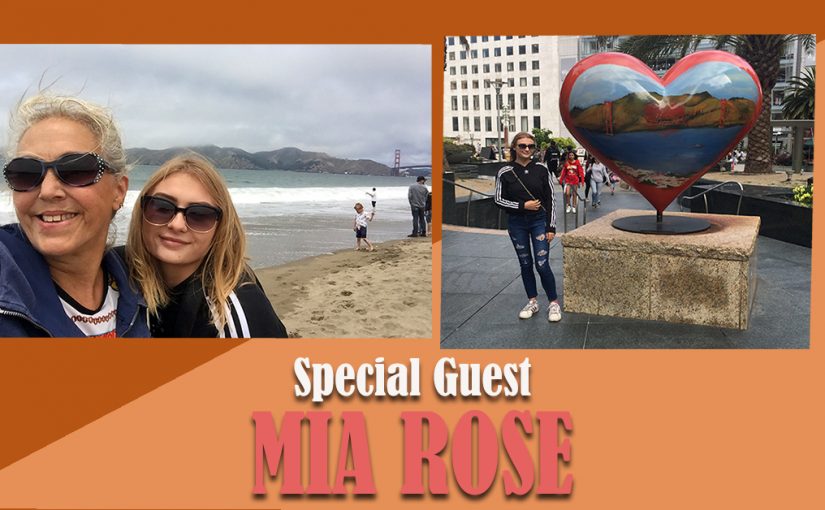
Grace and Mia prove that girls can have a fantastic day in San Francisco without spending lots of money. Check out their travels across the Golden Gate Bridge and nearby hiking trails, Fort Baker, Union Square, Twin Peaks and more.

[embedyt] https://www.youtube.com/watch?v=i-JsArnVCXs[/embedyt]

Continue reading “Enjoy San Francisco Sightseeing on a Shoestring Budget”

DIY, Affordable RV 2,000 Watt Inverter Installation

This is a detailed installation “how-to” 48 minute video. If you only need to understand the basics, please watch our 10 minute OVERVIEW video: (previous, scroll down)

[embedyt] https://www.youtube.com/watch?v=NfMQj2WLlVg[/embedyt]

Continue reading “DIY, Affordable RV 2,000 Watt Inverter Installation”

Overview, Easy DIY Affordable 2KW Aims Inverter Installation

If you have a heavy duty alternator in your RV, you may wish to get 2,000 watts of “free power” when you’re driving down the road (or idling). First off, layout the design with all your accessories. I decided to include both a DC circuit breaker and a battery cut off (on/off) switch between the battery and the Aims Inverter. In this lesson, we will cut 200 amp copper cable, crimp and solder cables, install the AIMS inverter, route cabling, etc.

[embedyt] https://www.youtube.com/watch?v=IZKoOOebJ4c[/embedyt]

Continue reading “Overview, Easy DIY Affordable 2KW Aims Inverter Installation”

Extras – Accessories/Goodies, Toys for your Bike

[embedyt] https://www.youtube.com/watch?v=d1NsYfhFI7g[/embedyt]

We are loving our Rad City eBikes and having loading up with accessories to make for a safer and more comfortable bike ride. Learn about or bike locks, lights, water bottle, horn and chime, throttle extender, helmet, rear view mirror, wardrobe, and even a Garmin GPS with rear radar warning system. Here’s some of our gear and links

Continue reading “Extras – Accessories/Goodies, Toys for your Bike”

Rad Power City eBike – Timelapse Assembly, Tighten Spokes, Test Ride

[embedyt] https://www.youtube.com/watch?v=9ySIpxxY7b4[/embedyt]

Grace’s Rad City Step Thru has arrived safe and sound from FedEx. This being our second Rad Power bike, the assembly should go easier so we’re making a time lapse series but going slower on how to tighten your spokes, etc. Then we’re off to take a test ride as Grace gets the hang of riding her bright and shiny new eBike!

Rad City Bike – Maiden Test Ride. Gotta Love Rad Power Bicycles!!!

[embedyt] https://www.youtube.com/watch?v=l6Gj-KwO4Qg[/embedyt]

At long last after unpacking, assembly, setup and inspections, it’s finally time to take the new Rad City Bike out on the road for the maiden test ride! Stay tuned as we start adding accessories and share more lessons learned…


Rad City Bike Assembly, Steps 11-12, Pump Tires, Final Inspection

[embedyt] https://www.youtube.com/watch?v=MlSCL6z4g6Y[/embedyt]

Finishing our Rad City bike assembly, we begin by pumping up the tires to 50 PSI, very happy to us a good tire pump and are left wondering how long it would take a portable hand pump to partially file a tire in the field! When adding air, be sure the tire and tube are centered to avoid sidewall bulges, etc. Lastly, it’s time to take our new Rad City outside and do a final inspection before taking our beloved new bike for a spin.

Rad City Bike Assembly, Steps 8-10, Spokes, Fender/headlight, Adjustments

[embedyt] https://www.youtube.com/watch?v=983OjRoBjZM[/embedyt]

As we approach the final assembly steps of our Rad City installation, it’s time to install the front fender and headlight assembly (easier said than done), put on the seat and pedals, and make final adjustments to suit the rider.

Rad City Bike Assembly Steps 5-7, Spokes, Fender/Light, Adjustments

[embedyt] https://www.youtube.com/watch?v=GtdO2_36JrY[/embedyt]

As we continue assembling our Rad City bike, sooner or later you MUST adjust the spoke tension – so let’s inspect them right now! Next we will install the front fender and light assembly, not so easy unless you have 3-4 hands. Then we will make some personal adjustments based on your performance and comfort requirements.

Rad City Bike – Complete Detailed Setup Assembly, Steps 1-4

At long last our Rad City bike is delivered. After bringing it inside, we remove 30+ tie wraps and packing material, make our initial inspection to ensure the bike was properly built and no damages occurred during transport, and we follow the online Rad Power video as we complete the inventory of accessories prior to charging the battery. In the next video, we will complete steps 5-7 to charge the battery, install handlebar and the front tire. Eventually we will take the Rad City bike out for a test drive.

[embedyt] https://www.youtube.com/watch?v=PXlFjldRxaI[/embedyt]